Auto-tracking with motion detection
Auto-tracking with motion detection enables you to automatically track trips with only your phone. It starts tracking when you move above a certain speed and apart from drives, it might also log bike rides, runs, and trips with public transportation.
In this article
- How it works
- How to activate auto-tracking with motion detection
- Additional Auto-tracking settings
- Common questions
How it works
The Driversnote app serves as a mileage tracker and uses GPS technology to monitor locations in order to determine when the phone is on the move. Through a combination of your GPS coordinates and your phone’s accelerometer (activity recognition), the app is able to determine the difference between walking, biking and driving.
Please note
The app simply monitors your location. Driversnote does not store or save locations without your permission and until driving speed is detected.
How to activate auto-tracking with motion detection
- Open the Driversnote app
- Go to Settings
- Tap Auto-tracking
-
Switch Smartphone Motion Detection ON
After activating Motion tracking, Driversnote will start recording your trip when driving activity has been detected through your GPS coordinates and your phone’s accelerometer.
The trip will stop when the app detects that there hasn’t been any driving activity for roughly 15 minutes. Then, a trip is created in your logbook.
- The final step is to review all the tracked trips. You will find all the tracked trips in your To review section. Here you can view each trip and edit them - edit the name of the start/end location, add a note, or classify them as business or personal. Afterward, click approve and they are ready for reporting. We suggest reviewing your trips daily or weekly.
- Delete all the tracked trips that were not necessary (for example a train ride, bus trip, etc.).
Keep in mind that as long as alerts and notifications about the usage of the app are enabled, after a trip stops you will receive a notification confirming the trip log.
Tip
You can turn auto-tracking with motion detection on and off by toggling “Auto track” ON or OFF on the home screen of the Driversnote app.

Tip
Upgrade to an iBeacon for auto-tracking on a specific vehicle - check out more here
Additional Auto-tracking settings
There are a few other features to make auto-tracking even simpler. By customizing the options below, it will make reviewing your trips easier and faster.
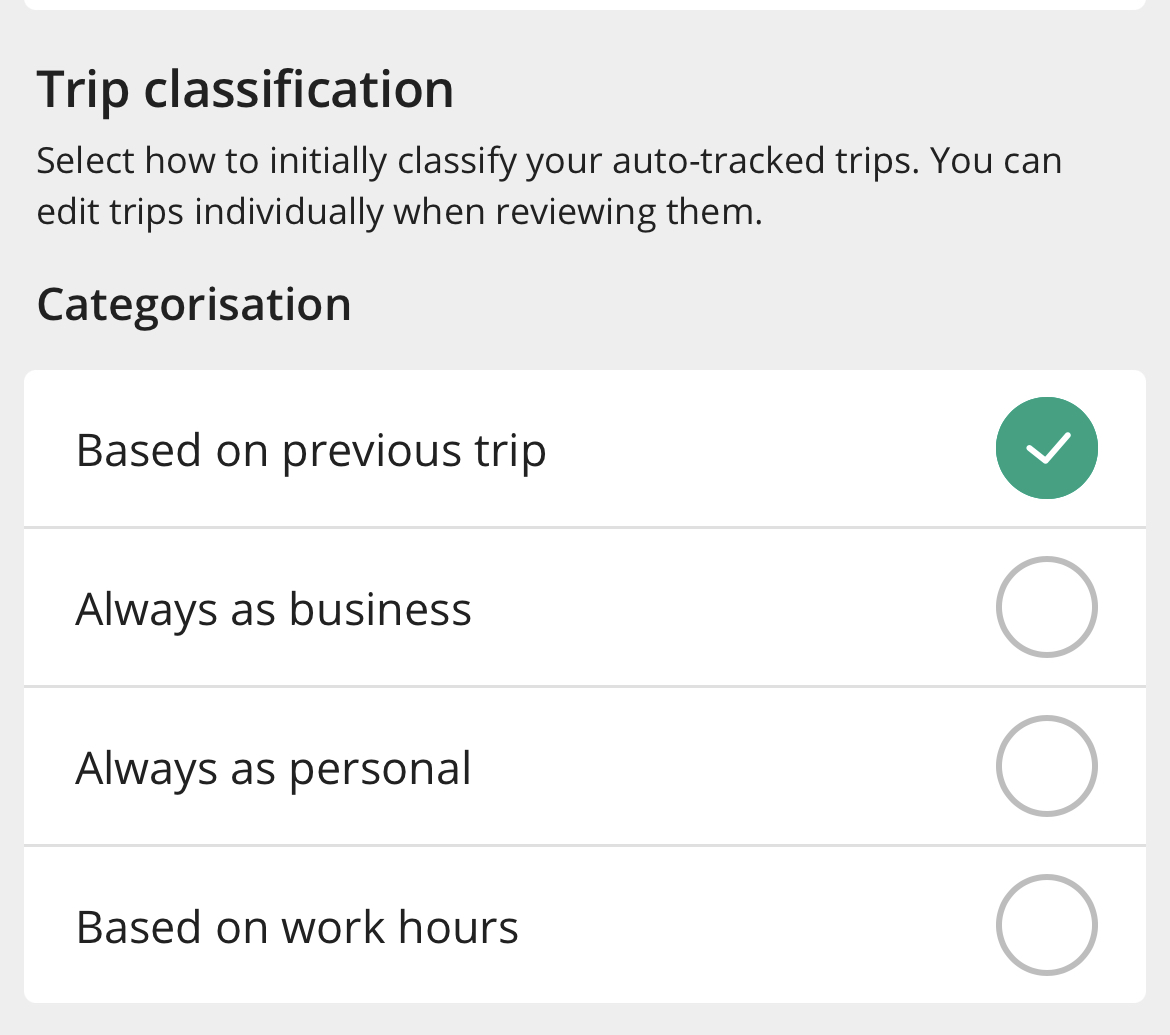
Trip Classification: Alternative to work hours, you can select how to classify trips in the following 3 ways:
- Based on previous trip
- Always as business
- Always as personal
To enable one of these, open the app > go to Settings > Auto-tracking > Trip classification
For more detailed instructions on enabling work hours, check out our guide: How to add your working hours
Vehicle Classification: This is only necessary when you have more than one vehicle and are using auto-tracking through ‘Motion’ detection. You have 2 ways to choose from:
- Based on previous trip
- Vehicle 1
- Vehicle 2

This will be the standard setting. However, you can always change and review the trips and assign them to another vehicle afterwards.
To enable one of these, open the app > go to Settings > Auto-tracking > Vehicle
Workplace Classification: This is only necessary when you have more than one workplace. If you have a preferred workplace or one that you track more trips one, we would suggest choosing this one. You will then have fewer trips to review and change. You can choose from the following
- Based on previous trip
- Workplace 1
- Workplace 2 etc
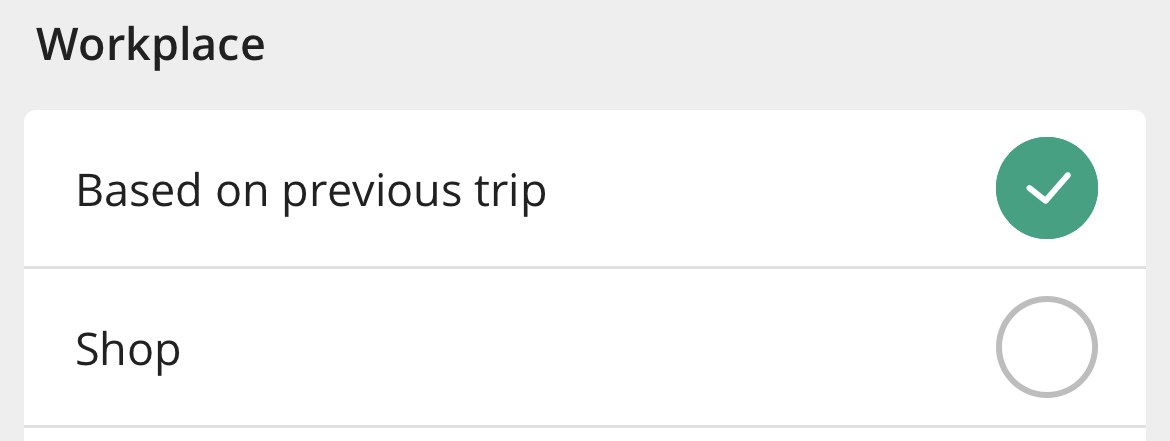
This will be the standard setting. However, you can always change and review the trips and assign them to another workplace afterward.
To enable one of these, open the app > Settings > Auto-tracking > Workplace
Common questions
Q: Can I use both Auto-tracking with the iBeacon and Auto-tracking with motion detection to track my trips?
No. It's not possible to track both with the iBeacon and motion detection concurrently. You will need to switch over from Auto-tracking with motion detection to Auto-tracking with the iBeacon (or the opposite). To do that, simply open the Driversnote app, go to Settings > Auto-tracking > enable the auto-tracking method you would like to use to track your mileage.
If you need to track in more than one vehicle and want to keep track of the changes in vehicle automatically, we recommend using an iBeacon in each vehicle. It keeps you in one tracking mode and will allow you to record your trips in multiple vehicles without more administration work. You can purchase additional iBeacons at your subscription page.
Q: How can I edit an incorrect trip created by motion tracking?
You can click on the start or end address to edit the name. Alternatively, you can create a manual trip and then delete the incorrect trip. Read more on our guide: How to edit a trip
Q: My auto-tracking isn't working
The first thing to check is that the app is on the latest version and your settings and permissions are correct. Make sure location is set to always and that access to motion & fitness (on iPhone) or Physical Activity (on Android) is enabled. Double-check that Auto-track is toggled on (top left corner of the app). Finally, make sure that your phone is not in Low Power Mode.
Here's our guide on Tracking Configuration & Settings Requirements